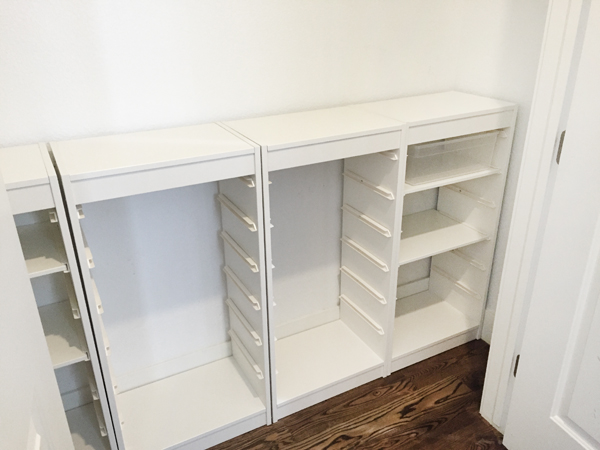
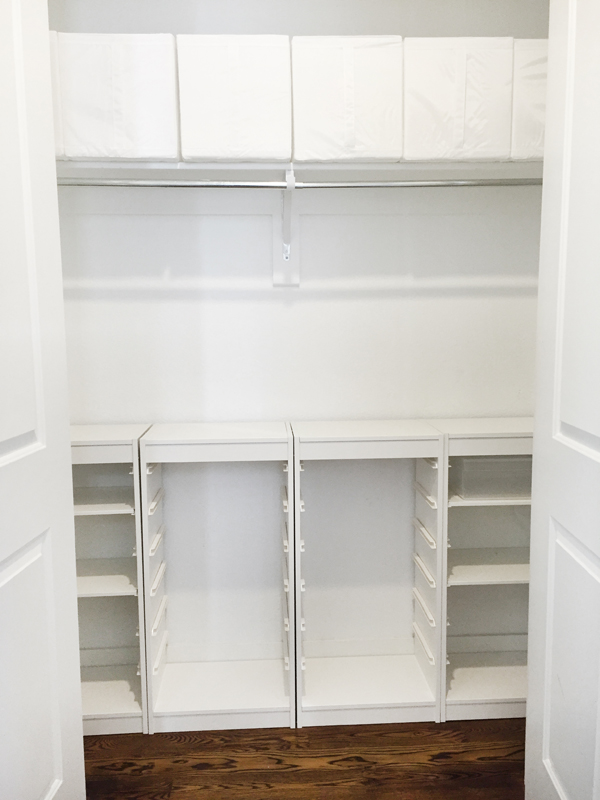
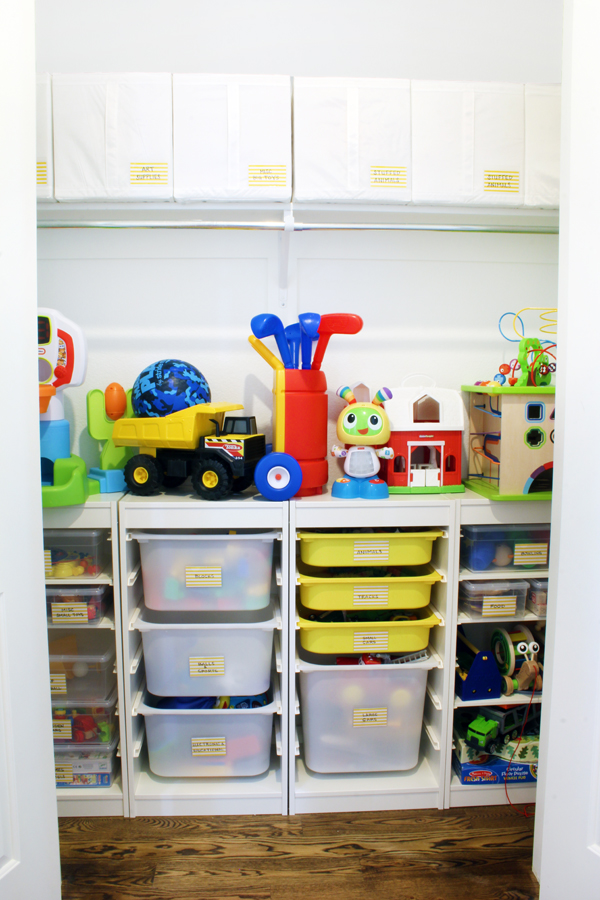
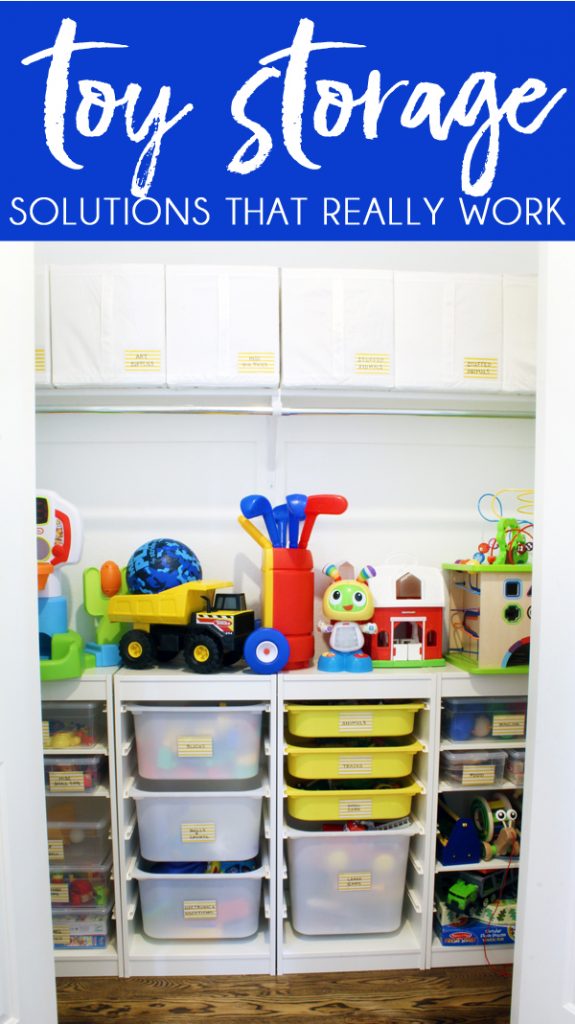
Since the closet is wider than the door opening, I chose shelves for the bottom of the closet that were only about half as deep as the closet to allow even the back corners to be easily accessible.
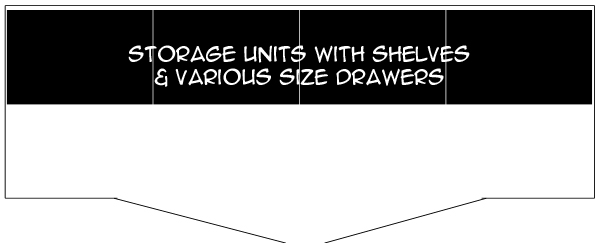
After researching lots of shelving and storage options, we decided to create a custom solution using pieces from the IKEA Trofast system.
The Trofast system comes in lots of options, including different heights and widths, but my favorite thing about Trofast is that it can be used with a combination of shelves and drawers, and that configuration can be easily changed as needed. I opted for shelves on the far sides of the closet, and left the center two sections open for sliding drawers. I also chose some light weight bins with handles for the top shelves.
Here’s the supply list of exactly what I used in this closet:
Don’t have an IKEA near you? Some of these items are also available on Amazon. You’ll usually end up paying more at Amazon then directly through IKEA, but I’ll also include affiliate links to the Trofast available on Amazon for your convenience.
- 37″ Tall TROFAST frames (I used four side by side)
- Here are two other configurations available on Amazon: shorter; multi-height
- TROFAST Shelves (sold in sets of two)
- TROFAST Storage Bins: I used 3 Small; 3 Medium; 1 Large
- Numerous Trofast bin options on Amazon
- SKUBB Storage Boxes with Handles (I used 6 on the top shelf)
- Available on Amazon in blue
- Clear lidded, stacking storage boxes
- Self-Adhesive Label Pockets
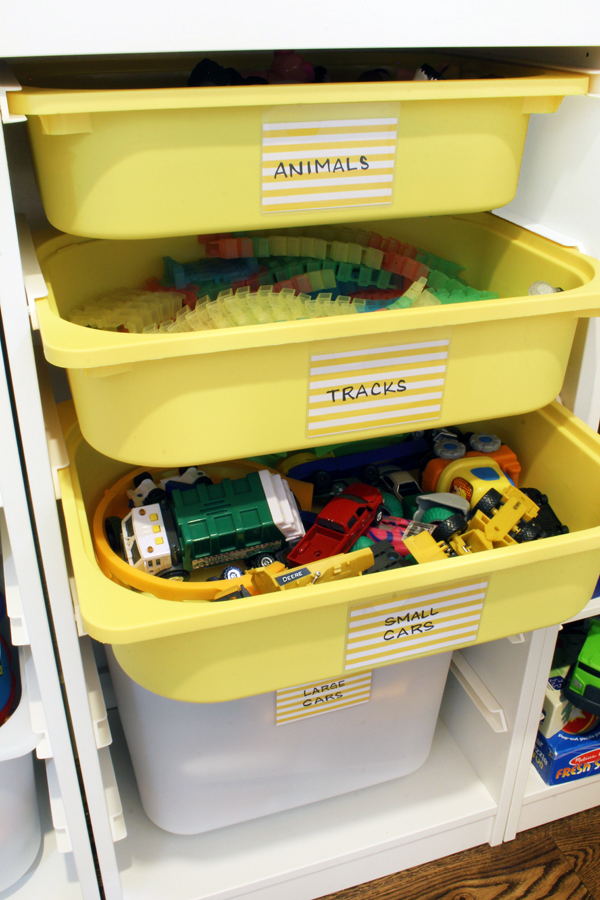
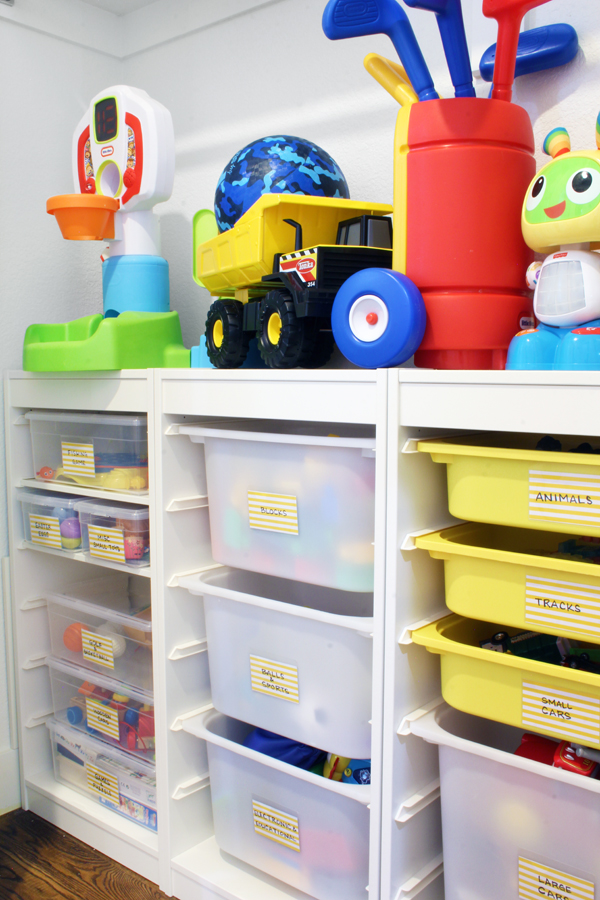
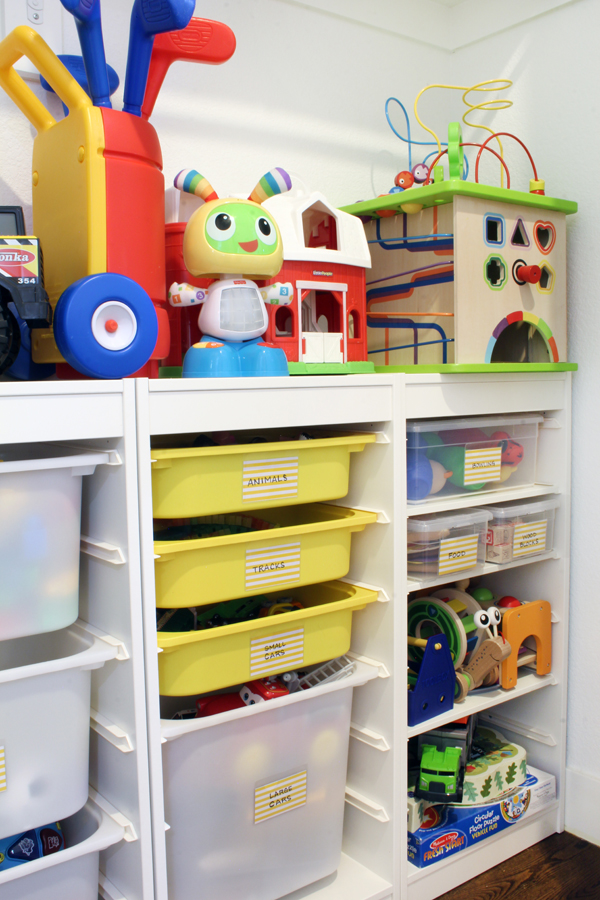
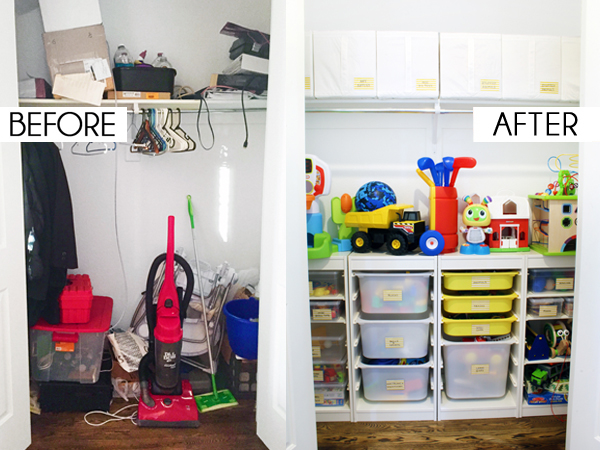
After sorting all the toys, and adding simple labels to all the boxes and bins, the coat closet turned toy closet was a thing of beauty!
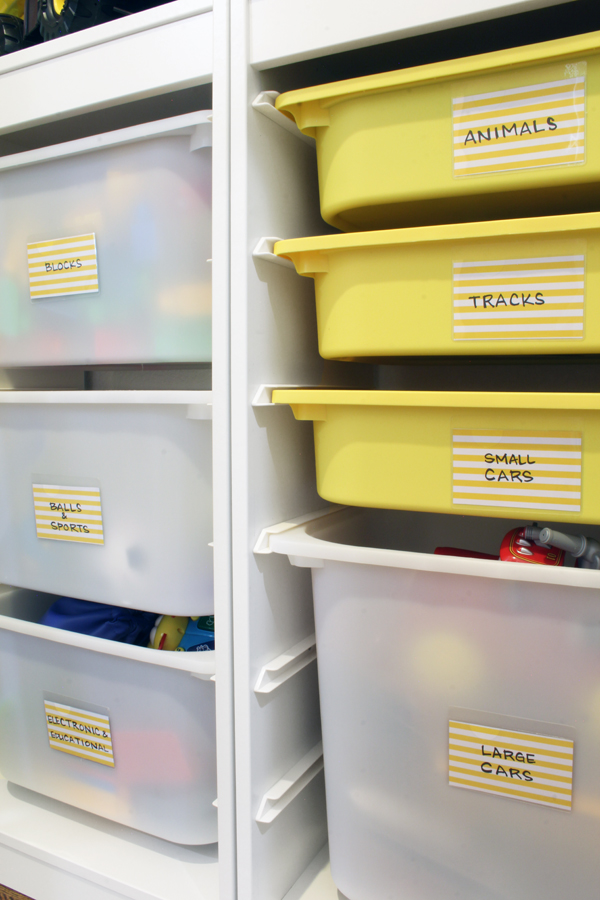
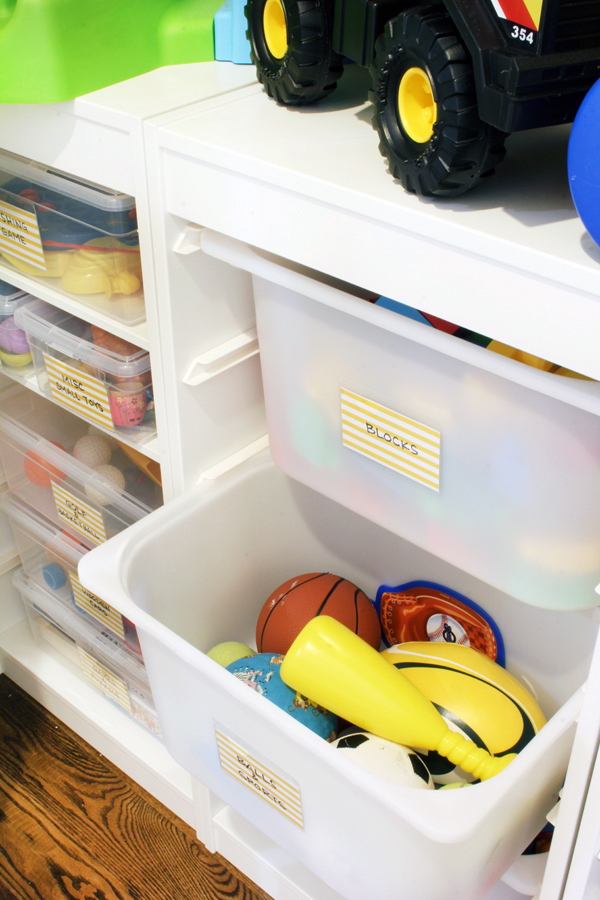
I filled the TROFAST bins with groups of like toys, including blocks, balls, animals, and cars.
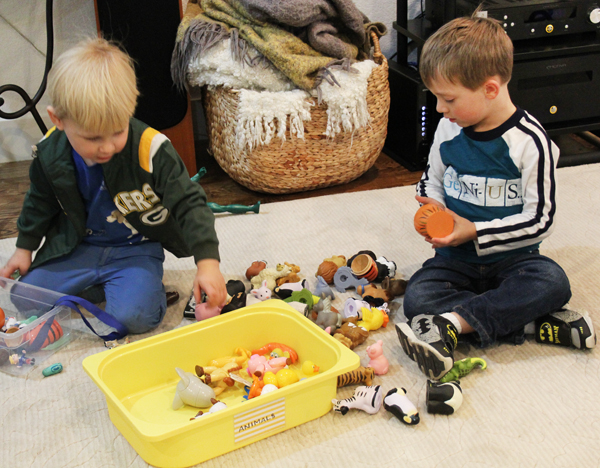
What I love most about these bins is that they function like drawers, but can be fully removed from the tracks and carried to the family room rug for playtime.
Then when it’s time to clean up, the family can toss everything back in the bins and slide them back in place in closet.
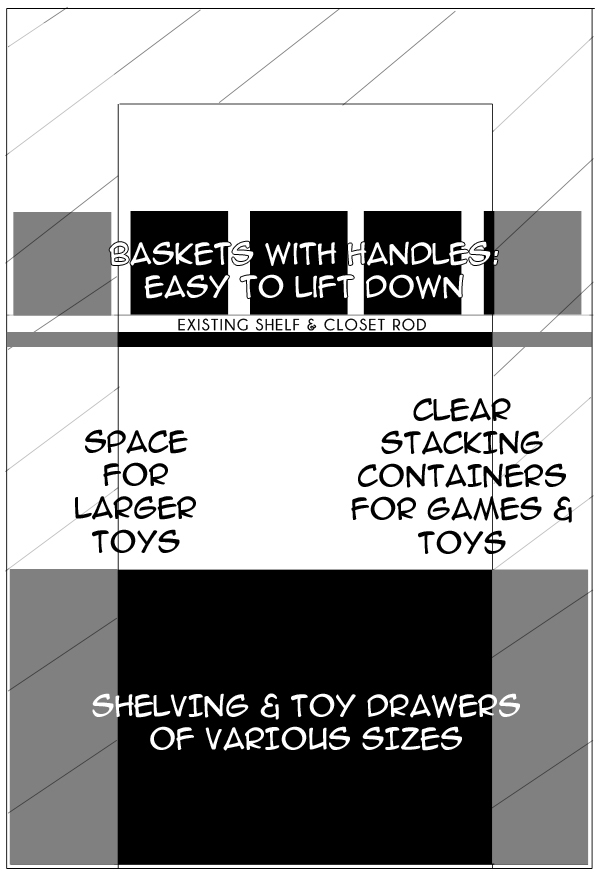
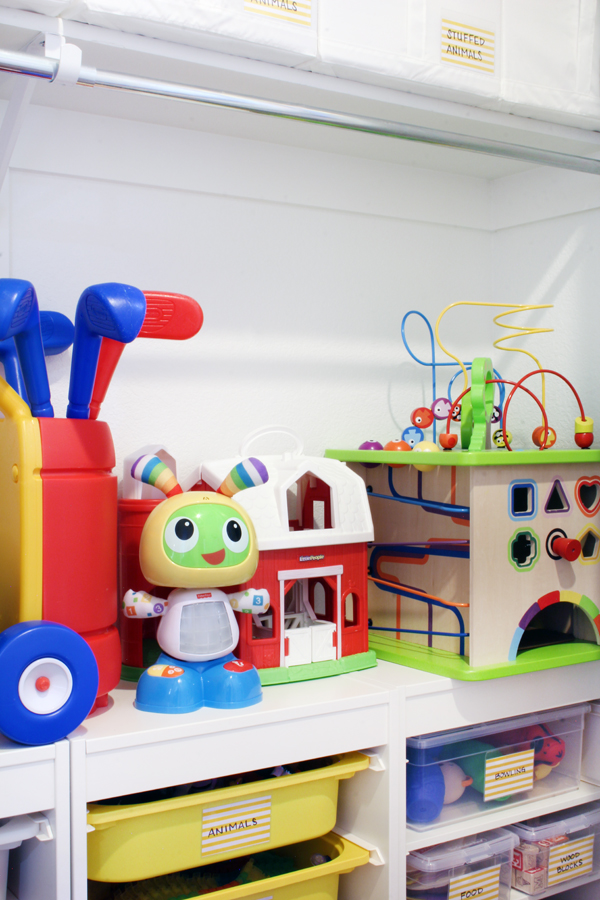
The sliding bins work perfectly in the center of the closet, where the door opening is, but because of their depth they would have been hard to maneuver into place in the corners of the closet. Instead, I slid TROFAST shelves into the tracks on the units on the far right and left. I then filled my favorite inexpensive, clear stacking storage boxes with additional toys and games and placed them on these shelves.
Other toys I placed directly on the shelves for easy access.
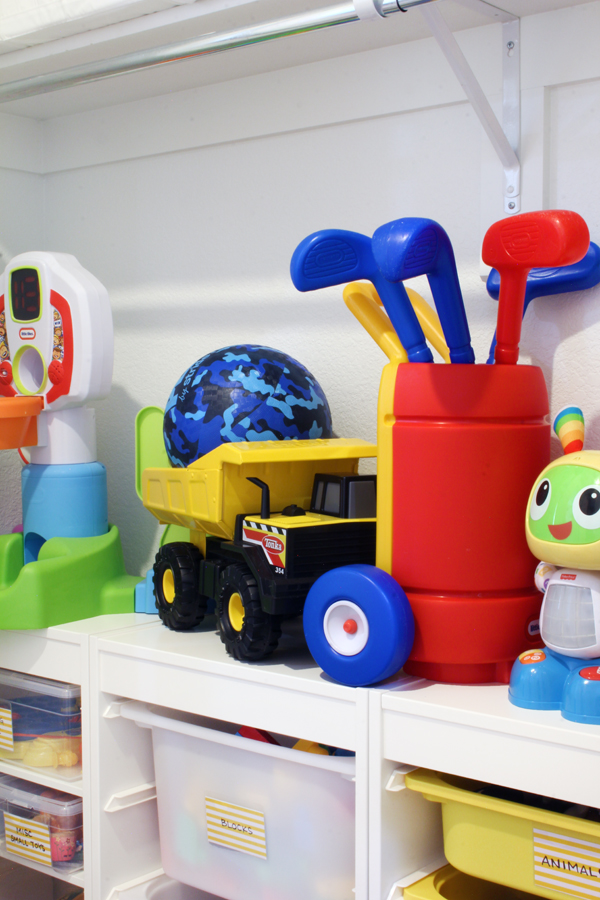
Big toys often pose the biggest organizational challenge because they don’t fit on standard shelves. When planning this toy closet, I specifically chose to leave a large open space between the new storage units and the fixed closet shelf to accommodate big toys.
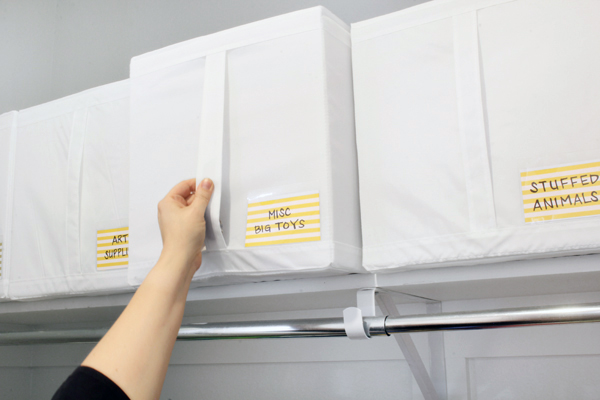
I used the SKUBB storage boxes on the top shelf to organize additional toys. The long handles make the toy baskets easy to reach and lift down {even for someone short like me}. I filled these boxes with lighter weight toys and those played with less often. These top shelf storage boxes also allow the parents to control access to other items, like art supplies that could be messy in little hands if left unsupervised.
I accomplished the total transformation of this closet from under-utilized coat closet to super functional toy closet for just $250, including the storage frames, shelves, bins, boxes, and labels.
This little boy’s toys will continue to change over time, but this toy storage closet will easily adapt and grow with him! The Trofast storage frames each have six tracks, allowing different sizes and configurations of bins to be slid into the frames over time, and the shelves can also be repositioned as needed. And because the labels are just written on scrapbook paper and slid into the adhesive label pockets, updating the labels will be quick and easy. {Read how to create these easy to update labels.}

